This page is full of info that has been acquired through taking these beautifully engineered vehicles to extremes most would never dream. Also some info will be things learned at the racetrack, whether it’s our own local F1 series or events across the country and world. Any questions or info you would like to see on this page email Sandy at sandy@molzermoweryracing.com |
| Off Road Page |
| On Road Page |
MMR F1 Gear Drive Options
We have found on some tracks we need just a touch more gear then we can get with the reduced ratio MMR Gear drive. Very seldom have we needed to get a larger ratio as most tracks you need the corner exit speed not the straight line speed. But for those rare instances we have found some easy options to step up a few ratios and get some more top end. Watch the news site for final product when they become available.
|
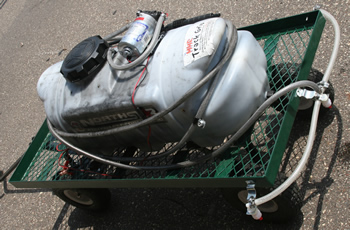
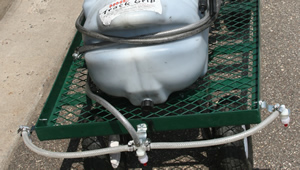
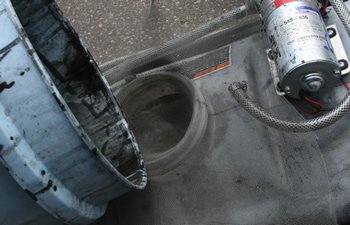
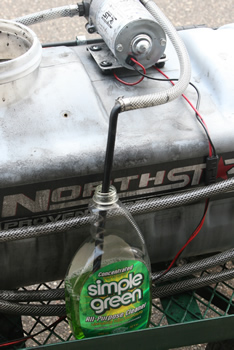
Tips and tricks for using and applying Track Grip Application: We have found that the biggest issue is clogging sprayers. If you are finding you are having a hard time spraying grip begin mixing thinner.
We use a ATV 15 gallon sprayer with agriculture sprayer tips. These tips are easy to replace and less likely to clog then most wands on sprayer.
We add about 2 quarts to a 15 gallon sprayer. We also find that mixing the grip in a 5 gallon pail then add to the sprayer by pouring through a strainer is very helpful in preventing clogs.
Clean Up: Normally we flush the system with water until the sprayer sprays clear water. we then leave some water in the entire system to avoid the chance of a small amount of grip drying in the system. If we are off site and are not able to run water through the sprayer we will run straight simple green through our pump and lines and let it sit until we are able to flush the system with clean water.
|
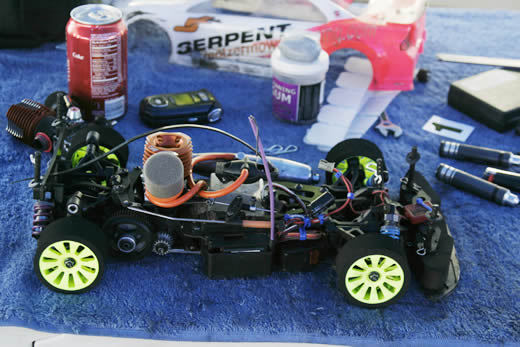
2006 ROAR 1/10th Nats
What a great race, the track was a bit different then most I have raced and proved to be quite a challenge. The new 720 showed that it is a true Evolution in 1/10th scale cars. I look forward to sharing setups and new toys for this car as it comes to market.
|
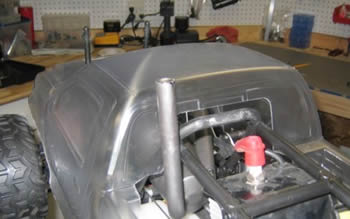
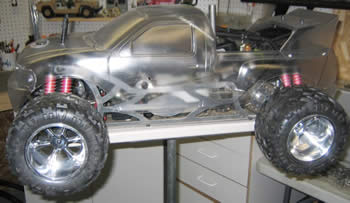
MT Samba pipe installation on ST I have had many questions about tuned pipes that will fit a FG Stadium trucks. Below I will show how to install the Samba MT pipe PN: to the ST. The truck used in the photos is a MT but everything needed for this topic is the same except the length of the front body posts. When finished the ST body will sit just about 1 inch higher in the front and no change to the rear. I feel the body works better a bit higher because it clears the front bumper and adds a bit of steering clearance for the front wheels.
|
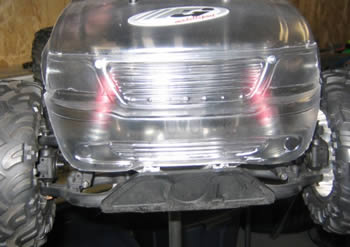
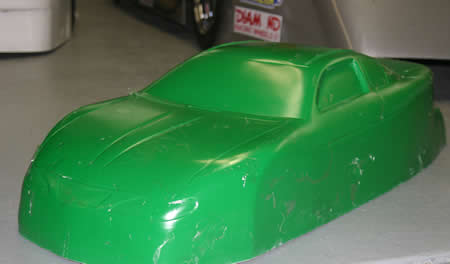
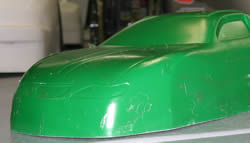
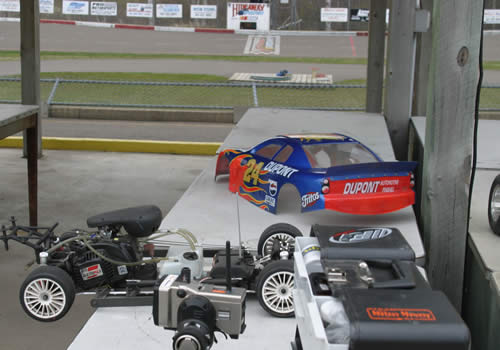
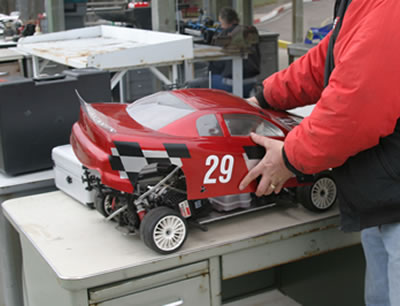
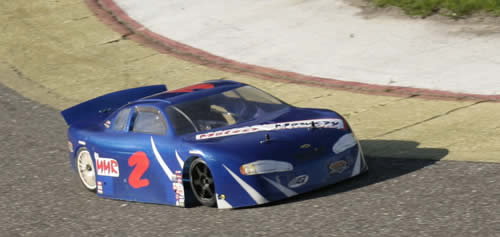
Images from some of the shakedown runs of the Stock car body during mold development. Just a sneak peak: Here is a short clip from some R&D test runs.
The 1/5th cars ran the same lap times as the best 1/4 drivers in the nation with out of the box sportline sedans including tires.
Production bodies are in dealer hands. Special club deal is available through the dealer network.
|
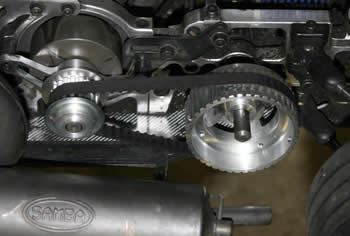
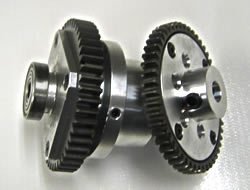
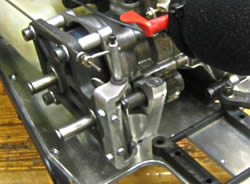
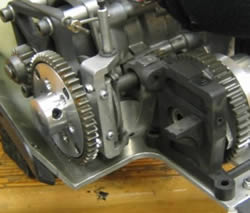
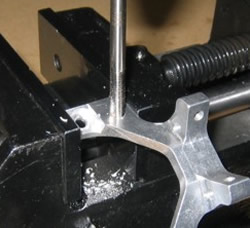
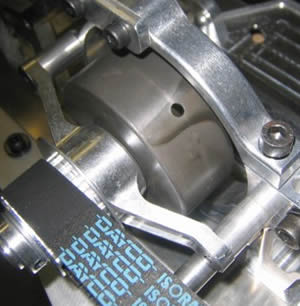
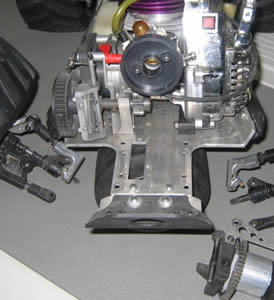
Alloy Gear Carrier Install CNR6050ST
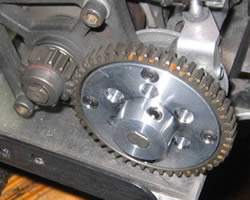
The installation of the alloy gear carrier is really very simple, but first let’s talk gearing. The Marders, Beetles, MB’s, MT’s have several different gear setups with pinion and spur sets of 18/46 and 16/48 (the spur/pinion are a fixed mesh, so they must be change simultaneously). Lay shaft of 14,15,16 and diffs of 48 and 50 example 15/50. So there are four gears that can be changed to achieve the performance you wish. If you are looking for speed/top end then you need the first of the two numbers to be higher and the second to be lower, example the 18/46 spur/pinion set is faster then the 16/48. With the lay shaft and diff gearing they can be changed individually, so a 16/50 will be faster then a 14/50. Next diff gears, FG makes three steel diff gears at this time a (48 tooth no.6048) (50 tooth no.6048/1) (50 tooth hvy duty no.6048/2). The first two are your options to use with the Alloy gear carrier (48,50) as a spur gear. Along with this you will need a steel 16 or 15 pinion to match. In the installation below I have taken my MB which had a 16/48, 15/50 and I am making it a 15/50, 15/50. That is a rather low gearing, but on a 1/8 scale off-road track it is great. It is also fun to bash around because with that much torque it will wheel stand on demand. Example (16/48, 15/50) = (pinion/spur, lay shaft/diff) = (front to back on vehicle) Everyone needs to make there own choice on the gearing that best suits their needs. Below I have removed my 50 tooth diff gear (6048/1) to be used on my alloy carrier and installed a heavy duty 50 tooth (6048/2) on the diff.
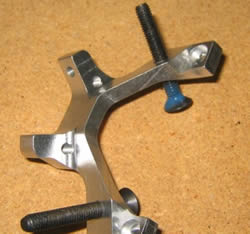
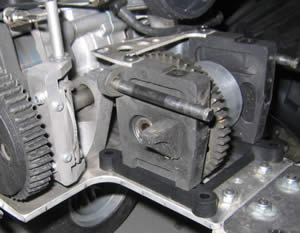
There is more removed in picture above then you would need to.
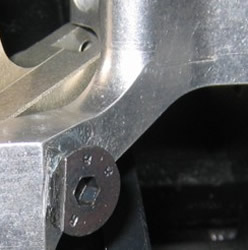
You may have noticed already, or if you look now you will see that the distance between the spur gear and the upper suspension arm is very close. These two coming in contact with each other is the cause of most plastic gear failures. I recommend you take further steps to strengthen this arm, I give options and instructions on this further in my off road section. If you choose to use a 48 tooth for the spur you will have a bit more room here then the 50.
|
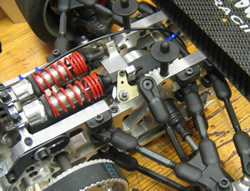
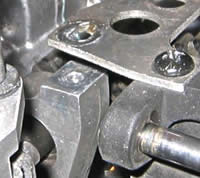
CNR Ball Bearing F1 Suspension Lever Installation
Then the locknut. Tighten locknut only until any slop is gone, do not over tighten causing drag.
|
Wheelie bar Installation 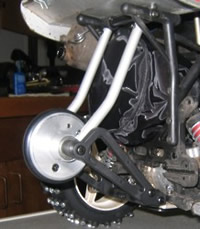 1.Attach both wheel halves with large o-ring between them.
2.Press a bearing in each side of wheel.
3.Slide shaft through wheel
4.Slide support shaft holder & plastic extension arm to each side, attach with screw on each side.
5.Install chassis plate with 4 screws to the arms.
6.Install on chassis with 3 screws.
7.Remove stock roll bar cross brace & install new cross brace with two plastic tube holders and alloy tubes between them and the lower holders.
8.Install 4 small screws through holes in tubes.
9.Install 2 screws to the new cross brace to hold the tubes straight.
10.Drive. |
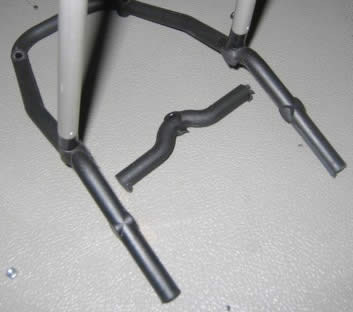
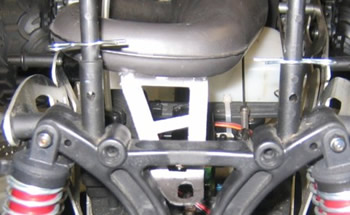
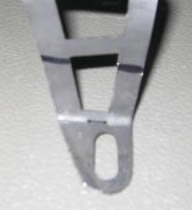
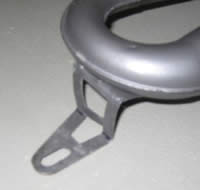
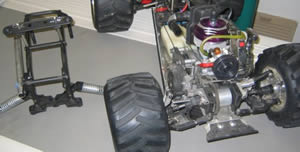
Off-road Diff Risers/Savers Installation (PN.7068) We at MMR have found a inexpensive way to raise the rear diffs on the off-road vehicles. This modification will allow the use of any adjustable differential available it will also give the vehicle more clearance between the diff housing and chassis this allowing larger debris to fall out without damaging the diff.
A. Remove rear shock tower and roll cage as one assembly.
1. remove rear shock lower mount pins.
2. remove 4 screws and 2 e-clips on the rear shock tower.
3. remove roll bar front 2 chassis mount screws.
 B. Remove rear suspension.
1. remove 4 lower suspension arm bolts.
2. slid off upper arms from pins.
C. Remove diff.
1. remove 4 chassis bulkhead screws.
2. remove 1 screw in alloy housing support.
 D. Install new riser PN.7068 and diff using new screws which need to be 10mm. longer than stock.
 E. You will need to make a spacer (10mm) to put under the alloy brace, and attach with a 10mm. longer screw.
 F. Reinstall the remaining items in the same manner they were removed.
G. You will also need 4 suspension bolts that are 10mm. longer.
|
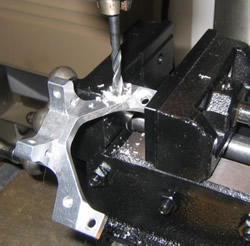
3 Shoe adjustable Clutch 4415/4416 When installing a 3 shoe adjustable clutch to your model you must drill a hole in the clutch bell to make adjustments without removing the motor. You need to drill a 4mm hole in the clutch bell. It should be drilled 10mm from the inside edge (closest to motor) on 1/5 scale models. 7mm on 1/6 scale models
|
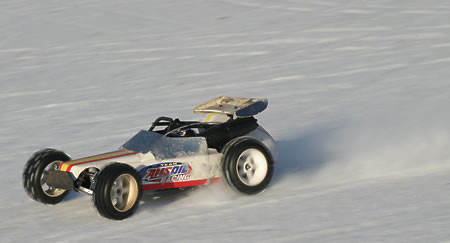
With winter hear for most of us we have a few tips on keeping your Off Roader running.
1. Always have a fully charged battery, battery life is reduced by the ambient temperature. 2. Double check all of your electronics for water tightness, the snow and ice will form around places that would never have been a issue before. 3. Check your car often, we have had ice build up and lock throttle control rods open end result is a run away which can be very bad for the car and extremely dangerous for everyone else. 4. If you take a car out of a warm home and run it in 10 deg weather you can have carbs and pull starts ice up. Be patient , isopropyl will help in melting the ice out of pull starts and off of carbs.
|